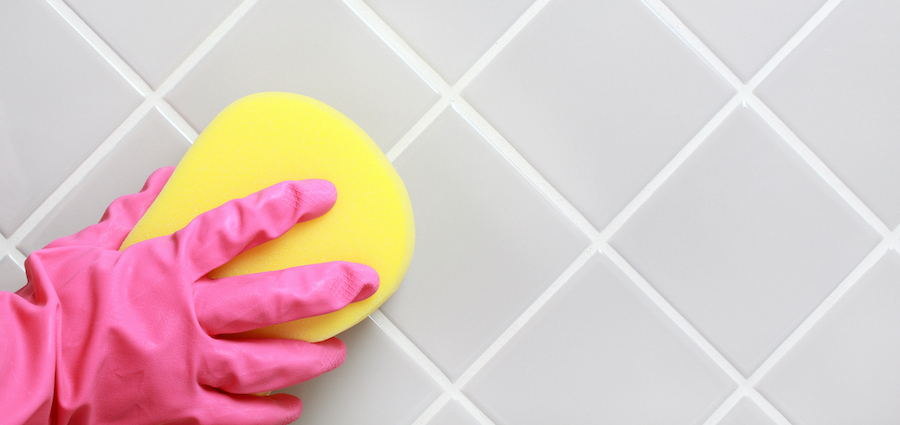
Have you ever noticed your grout goes from white to grey? Yup, dirt builds up here and one day it’s not going to look so new anymore! It can be pretty expensive to hire a vendor who specializes in grout cleaning so if you are cost conscientious and are in for a chore that can double as a workout you can do it yourself. Now that’s self-gratification!
Steps for Grout Cleaning
Here are a few different ways you can get the job done:
Baking Soda & Water
Mix 3 parts of baking soda to 1 part water to make a thick paste. This cleaner is versatile and works with all colors of grout (this isn’t the best option for natural stones like marble or travertine).
- It’s easiest to use your fingers to apply the paste between the grout lines, that way you can reach every nook and cranny.
- Rubber gloves aren’t a necessity but can help prevent scratches protect your skin from irritation.
Vinegar & Water
Couple the paste from the baking soda with vinegar and water in a spray bottle. You can spray the grout lines without getting hands-on.
- Pause for the bubbles! The combination of baking soda and vinegar causes the mixture to bubble and is a sign that the solution is working. Once it simmers down after a couple of minutes it’s time for you to wipe the surface clean.
- Use a nylon-bristled brush. If you use steel or wire bristled brushes they may damage the grout.
- Mop and rinse. The last step would mean to mop the floor with plain water to pick up any leftover residue and you’re done!
Oxygenated Bleach
- Let 2 tablespoons of oxygenated bleach dissolve into 2 cups of warm water. You’ll want to make sure that you are ready to use the mixture as soon as it’s made for the best results. Bleaching is gentle enough for different types of tile but this isn’t best for colored grout. Test it first! Use some of the solution on a small corner of the floor to make sure there is no discoloration by the bleach and then you’re clear to go!
- Clean one section at a time. This will ensure that the solution is used evenly and you’ll be less likely to have a totally wet floor! Pour just enough for each room so all grout lines are reached.
- AGAIN – Nylon bristled brushes! Don’t forget the corners!!
- For more stubborn stained grout lines, dip your brush in the solution itself before scrubbing for maximum potency.
- Lastly, rinse with plain water and let that floor shine!
Time for the big guns! Rent or buy a steam cleaner!
- Steam cleaners can effectively clean and sanitize all types of tiles and grouts and a big plus for many, without any chemicals. You can usually find them in a home improvement store. Just make sure that the steam cleaner you acquire has a steam hose and brush attachment regardless if you’re renting or buying the unit.
- Once you turn the steam cleaner on, you’ll want to move the brush back and forth over the grout. The most effective way to go about this is to start from the back of the floor to the front. Watch as the steam loosens up that dirt and reveal a floor that’s like-new! Another benefit of steam is killing any mildew that could be growing.
- No need to mop, just a simple wipe as the steam will have already blanketed the floor with moisture. And voila! Chemical-free cleanliness.
CAUTION: Grout sealant can be wiped away from steam cleaning so it’s best if the grout hasn’t been sealed already or if it’s something you’re going to replace in the near future.


